Tutorial for Passport.js authentication in a Node.js Express application
18 Oct 2015Who's this targeted for?
This tutorial is geared towards developers just getting started with passport.js and expects a basic understanding of Node.js (v 4.2.1) and Express (v 4.13.3) web framework. I will show a bare minimum amount code needed for a working demo and will be cutting corners when it comes to best practices. We will create an application that will allow you to login with GitHub.
Stack Overview
- passport.js - is a flexible and modular authentication middleware for Node.js. It can be dropped into any Express-based web application.
- passport strategies - are different authentication mechanisms such as twitter, Facebook, GitHub, local (credentials) and etc.
- middleware - are functions that handle requests, responses and the next middleware in the cycle. Usually with the signature
func(req, res, next). - OAuth - an open standard for authorization. OAuth provides client applications a secure delegated access to server resources on behalf of a resource owner. OAuth on wikipedia
- express.js - a fast minimalist web framework for Node.js.
1) Setup a simple Express.js app
For this tutorial I will use the port 30000. This is important because when we register our developer applications at various OAuth provider websites we will have to specify the port number in our callback url in order to test on with http://localhost:30000.
- Create a new project directory and setup the packages.json file with
npm init. Use defaults except for server.js as the entry point. - Install and save the following node dependencies:
npm install express --save
npm install express-session --save
npm install passport --save
npm install passport-github --save
- Create the file
server.jsand copy in the code below for a basic application with one route that outputs a menu. We are just going to concatenate HTML on the fly because we are lazy.
var express = require('express');
var app = express();

// main menu route
app.get('/', function (req, res) {
  var html = "<ul>\
    <li><a href='/auth/github'>GitHub</a></li>\
    <li><a href='/logout'>logout</a></li>\
  </ul>";

  res.send(html);
});

var server = app.listen(30000, function () {
  console.log('Example app listening at http://%s:%s',
    server.address().address, server.address().port);
});
- Test the application by running
node server.jsand viewing http://localhost:30000/. It should output a simple menu with broken (stub) links.
2) Logout Route
The logout route will be very useful for testing so we will create it first.
- Add the following passport reference to the top declarations;
var passport = require('passport');
Then add the following route code (below the existing route) shown below. The key line is req.logout();. It is a method that passport attaches to every request. The logout route will be unprotected. No error will be thrown if an un-authenticated user hits this route.
app.get('/logout', function(req, res){
  console.log('logging out');
  req.logout();
  res.redirect('/');
});
You can now test the app and you will see that clicking on logout redirects you to the main menu on each click.
3) Register a new developer application with GitHub
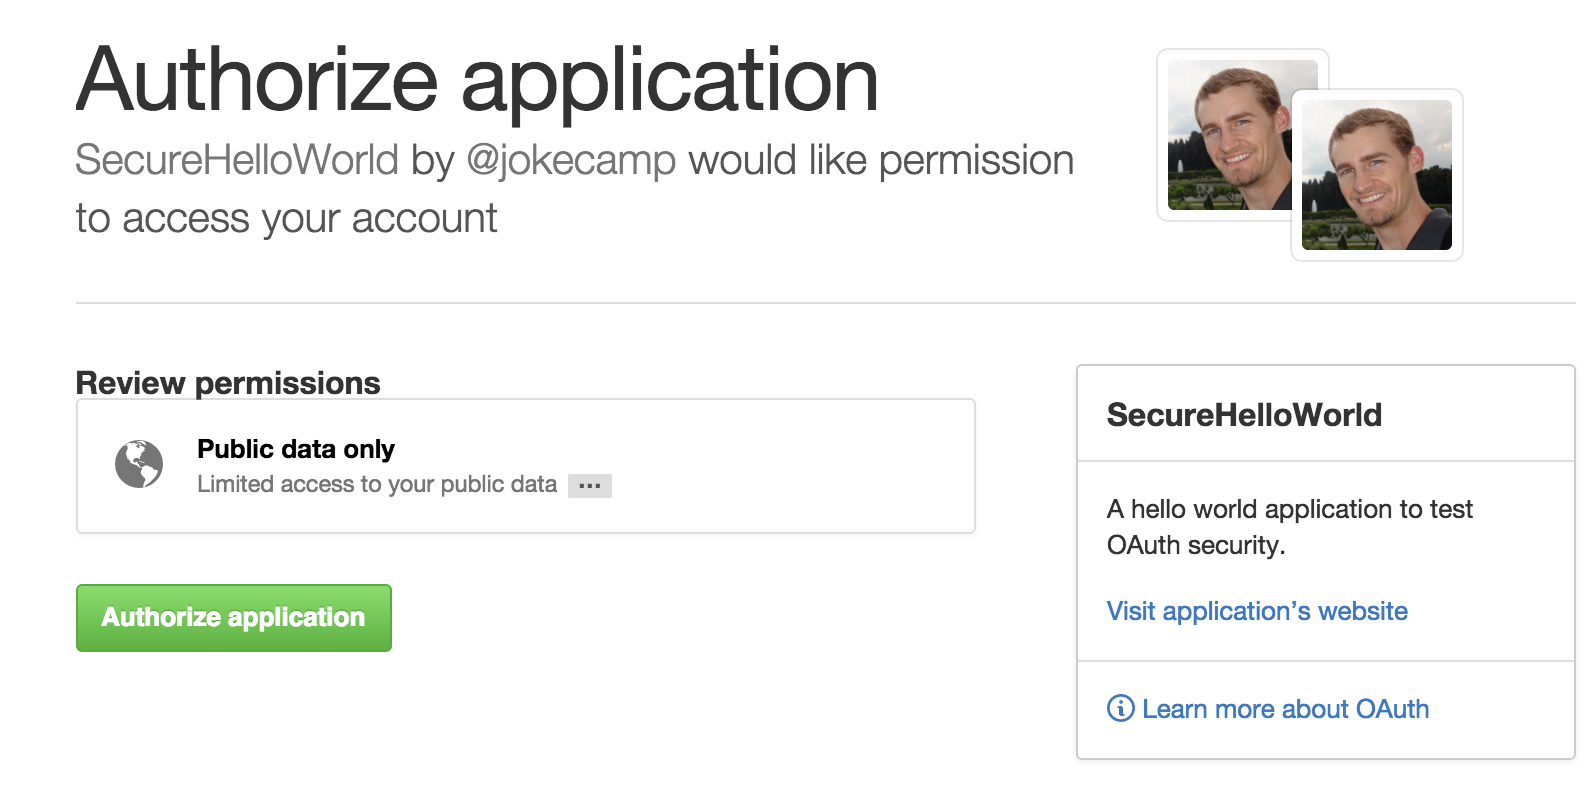
Register a new GitHub dev application at https://github.com/settings/applications/new.
- The most important property to set is the Authorization callback URL. Use
http://localhost:30000/auth/github/callback. GitHub allows for localhost address. Be warned that not all oauth providers will allow you to test using localhost.
See my example application settings in the image below

- The most important property to set is the Authorization callback URL. Use
Make note of your new "Client ID" and "Client Secret" properties provided by GitHub.
4) OAuth and passport-github strategy implementation
We should have already added the passport-github package.
Now add the following just below the declarations. Be sure to insert your client id and secret as shown on your newly created GitHub application. You should not need to change the callbackURL. Just make sure it matches what you provided to GitHub.
var GithubStrategy = require('passport-github').Strategy;

passport.use(new GithubStrategy({
    clientID: "-- ENTER YOUR GITHUB CLIENT ID --"
    clientSecret: "-- ENTER YOUR GITHUB CLIENT SECRET --"
    callbackURL: "http://localhost:30000/auth/github/callback"
  },
  function(accessToken, refreshToken, profile, done) {
    return done(null, profile);
  }
));
- Add the session and user management code. See the passport.js documentation on sessions and users to understand how it works. The
serializeUseranddeserializeUserfunctions are required. For now we will just pass the entireuserobject along. In a proper implementation we would perform specific business logic and proper saving/retrieval. The session secret can be anything for this tutorial.
// Express and Passport Session
var session = require('express-session');
app.use(session({secret: "-- ENTER CUSTOM SESSION SECRET --"}));
app.use(passport.initialize());
app.use(passport.session());

passport.serializeUser(function(user, done) {
  // placeholder for custom user serialization
  // null is for errors
  done(null, user);
});

passport.deserializeUser(function(user, done) {
  // placeholder for custom user deserialization.
  // maybe you are going to get the user from mongo by id?
  // null is for errors
  done(null, user);
});
- Add the following two routes for the GitHub OAuth flow. The first one starts the OAuth workflow and the second is the URL GitHub will redirect to when finished.
// we will call this to start the GitHub Login process
app.get('/auth/github', passport.authenticate('github'));

// GitHub will call this URL
app.get('/auth/github/callback', passport.authenticate('github', { failureRedirect: '/' }),
  function(req, res) {
    res.redirect('/');
  }
);
- Lets also add some debug information to our main menu route so we can indicate when the authentication has worked. Add this to the main
/route below our hacked HTML menu.
// dump the user for debugging
if (req.isAuthenticated()) {
  html += "<p>authenticated as user:</p>"
  html += "<pre>" + JSON.stringify(req.user, null, 4) + "</pre>";
}
- Run the application and we should be able to login through GitHub and then get redirected back to main menu. The main menu page should also dump out your user information provided by GitHub. Lastly, the Logout route should also work correctly.

5) Protecting/Securing a custom route
Now that we are able to login with OAuth how do we protect individual routes and require that the user be authenticated? To do this we will add a new middleware function called ensureAuthenticated. The middleware will intercept the request and ensure that the request has been authenticated with passport. The key line in this function is req.isAuthenticated(). This method is poorly documented and this SO answer was my very helpful. If the authenticated check fails we will redirect to the main menu route.
- We will create a new stub route and call it
protected. Copy below code that includes the route andensureAuthenticatedmiddleware.
// Simple middleware to ensure user is authenticated.
// Use this middleware on any resource that needs to be protected.
// If the request is authenticated (typically via a persistent login session),
// the request will proceed.  Otherwise, the user will be redirected to the
// login page.
function ensureAuthenticated(req, res, next) {
  if (req.isAuthenticated()) {
    // req.user is available for use here
    return next(); }

  // denied. redirect to login
  res.redirect('/')
}

app.get('/protected', ensureAuthenticated, function(req, res) {
  res.send("access granted. secure stuff happens here");
});
- Run the application again and login then visit http://localhost:30000/protected. Try again after you logout. If you have errors compare your code to the entire tutorial source code
Common Pitfalls and Gotchas
A list of errors I encountered myself that might be roadblocks.
Getting the
FacebookTokenError: This authorization code has been used.error on login.- How many times is the
passport.deserializeUserfunction called? - I was getting this error when I incorrectly had the
passport.authenticate('github')middleware on a route I wanted to protect after the OAuth workflow. This was creating the OAuth workflow to execute again after authentication. Only use thepassport.authenticatemiddleware on the two OAuth methods per provider. If you have a similar issue keep the Chrome Network console open and watch the requests.
- How many times is the
The
req.isAuthenticated()method is not documented very well in passport. You can find theensureAuthenticatedmiddleware reference in the official passport example apps. For more reading see the article Authorization with Passport (Part 1: Ensuring they're logged in)Getting the
Error: Failed to serialize user into session- You are missing the two methods
passport.deserializeUserandpassport.serializeUser. These are required for session use and authentication. Check for open source examples on GitHub to see how people implement this methods.
- You are missing the two methods
Problems with passport-local strategy (user and password form)
- Outside the scope of this tutorial but make sure you are using the
body-parserpackage toPOSTthe login form. - Make sure your form field names match the expected names in passport. If they do not match you will need to configure passport to know what field names to expect on a POST.
- Outside the scope of this tutorial but make sure you are using the